 .
.
If you don't want to start from CD-ROM each time, you can install Puppy on a harddrive. There are four alternatives:
I recommend the third alternative (see chapter 4.3).
This chapter is still missing. If you want you can help and write this chapter. Please contact
 .
.
This chapter is still missing. If you want you can help and write this chapter. Please contact
 .
.
This is a fine option for starting Puppy. It combines the advantages of booting from CD-ROM (protection from harming programs) and harddrive (speed). If you want to use this option you have to install a boot-manager (e.g. GRUB) first (see chapter 4.5).
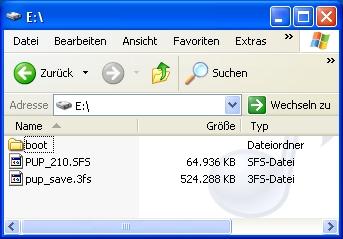
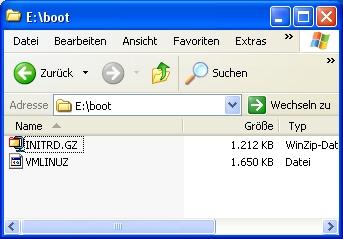
After GRUB is installed, start Windows and insert the Puppy CD into the CD-ROM drive. Copy the file PUP_210.SFS to a partition with FAT32-filesystem (in our example this is the second partition, which probably has the letter E under Windows). If you had already stored the file pup_save.3fs from an earlier use of Puppy and if you would like to use it further, cut and paste this file to the same folder as the file PUP_210.SFS. Subsequently, you create a directory named "boot". Then you copy from the Puppy-CD two files named INITRD.GZ and VMLINUZ to this directory.
The partition should have the following content now:


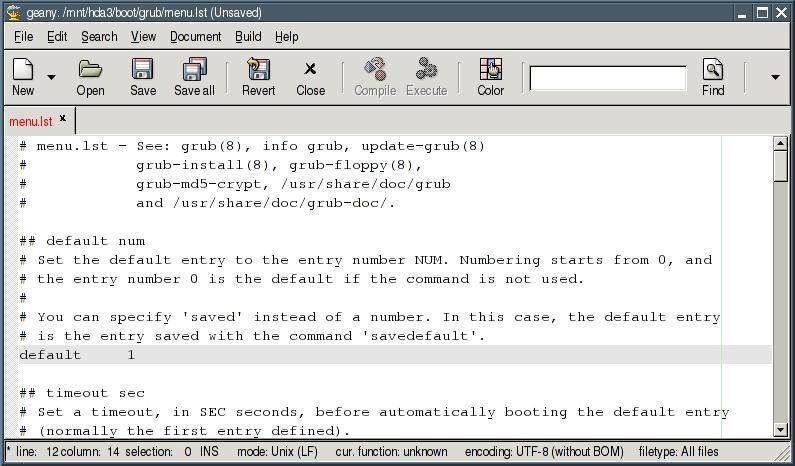
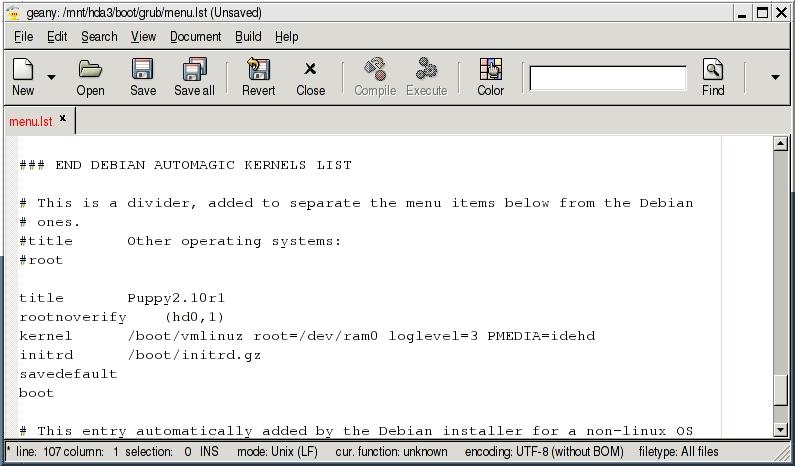
Now you still have to configure the boot-manager GRUB. Terminate Windows and start Puppy Linux from CD-ROM with the boot-option "puppy pfix=ram".
mount /dev/hda2 /mnt/hda2

default 1

title = Puppy
rootnoverify (hd0,1)
kernel /boot/vmlinuz root=/dev/ram0 loglevel=3 PMEDIA=idehd
initrd /boot/initrd.gz

umount /dev/hda2

This chapter is still missing. If you want you can help and write this chapter. Please contact
 .
.
This chapter is still missing. If you want you can help and write this chapter. Please contact
 .
.